Uber Eats Driver Tutorial In 2022 (WHAT’S NEW)
Dec 02, 2021Most people have thought about becoming an Uber or Ubereats driver at one point or another. What often holds us back is the unknown. What is it like? Do I have to do a bunch of phone filleting? I’m happy to say that the app literally does the work for you. All you need to do is drive. With that being said, here we will go into what a full driver delivery experience looks like over the app. This will prove to be very helpful because visuals are included. If you haven’t signed up for ubereats and you’re interested in driving, you can do so here. Articles not your style? Scroll to the bottom of the page to watch the videos!
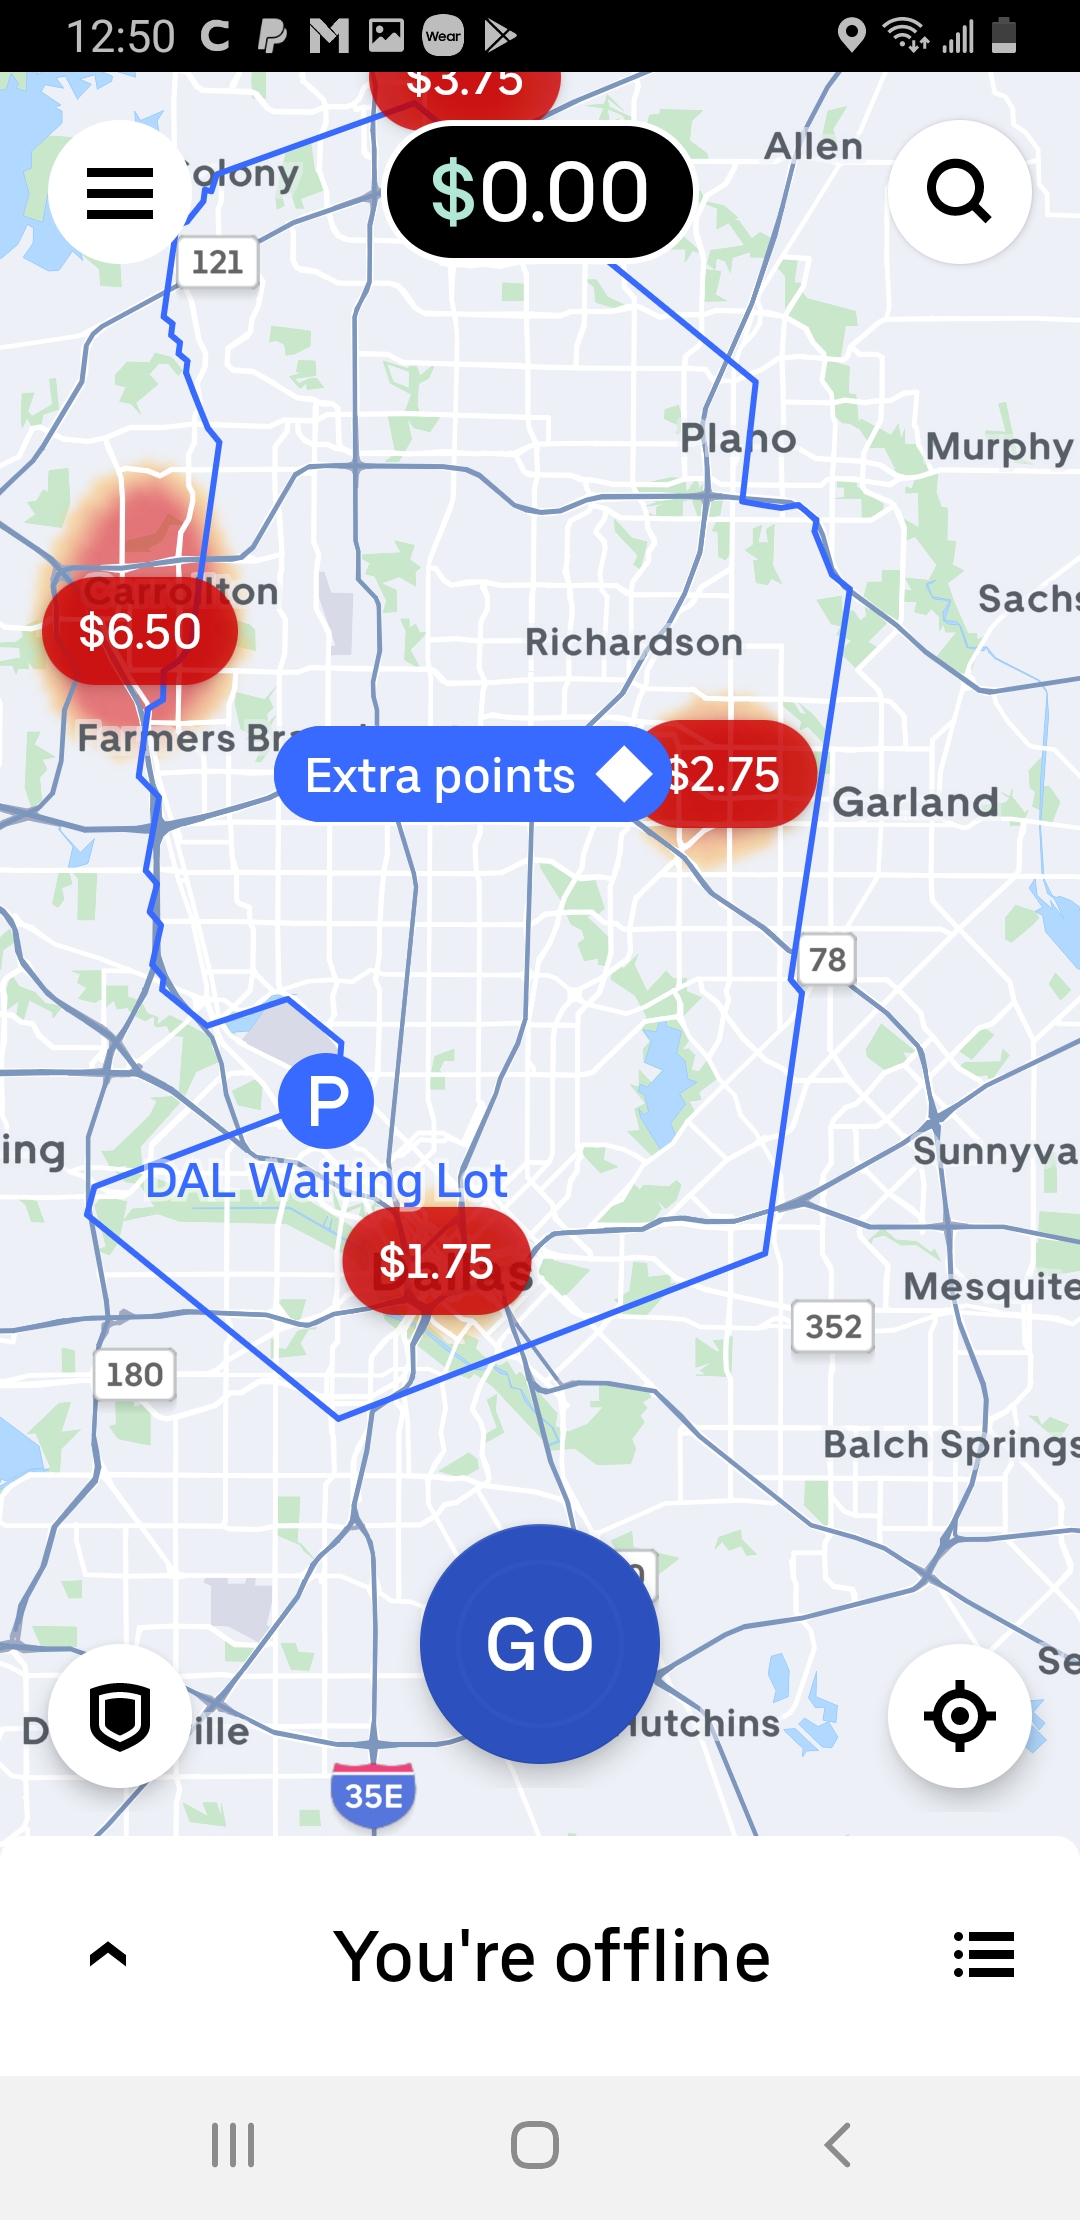
Getting familiar with the app
The app is VERY easy to understand and we will have screenshots threw out this article that literally show what is being written about. When first opening Uber Driver app, you will be “offline”. This means you are not being recognized as an available driver to take deliveries. Being offline lets you explore the app a little. At the bottom of the screen, you will find a home section, earnings section, rating section and account section. The other sections can be explored on your free time. Here, we’re going to focus on the home page. If you “Go” button at the bottom, you are telling the Uber system that you are available to take deliveries. Don’t go online until you are ready to drive. A request may pop up as soon as you hit online or minutes from then. Always be in the position to do driving when you go online.
Getting a delivery request
When you get a delivery request, your phone will make a beeping sound, showing a map, the estimated time it will take to drive to the location of the restaurant you will be picking up the food from. It will also show a bag icon symbolizing a delivery request as well as the dropoff location, restaurant and the guaranteed amount that you will make. This guaranteed amount does not include any tips that have been added.. The small circle that surrounds the bag is countdown for about 10 to 15 seconds, during which you can accept the request. You accept the request by pressing the bag icon with your finger.
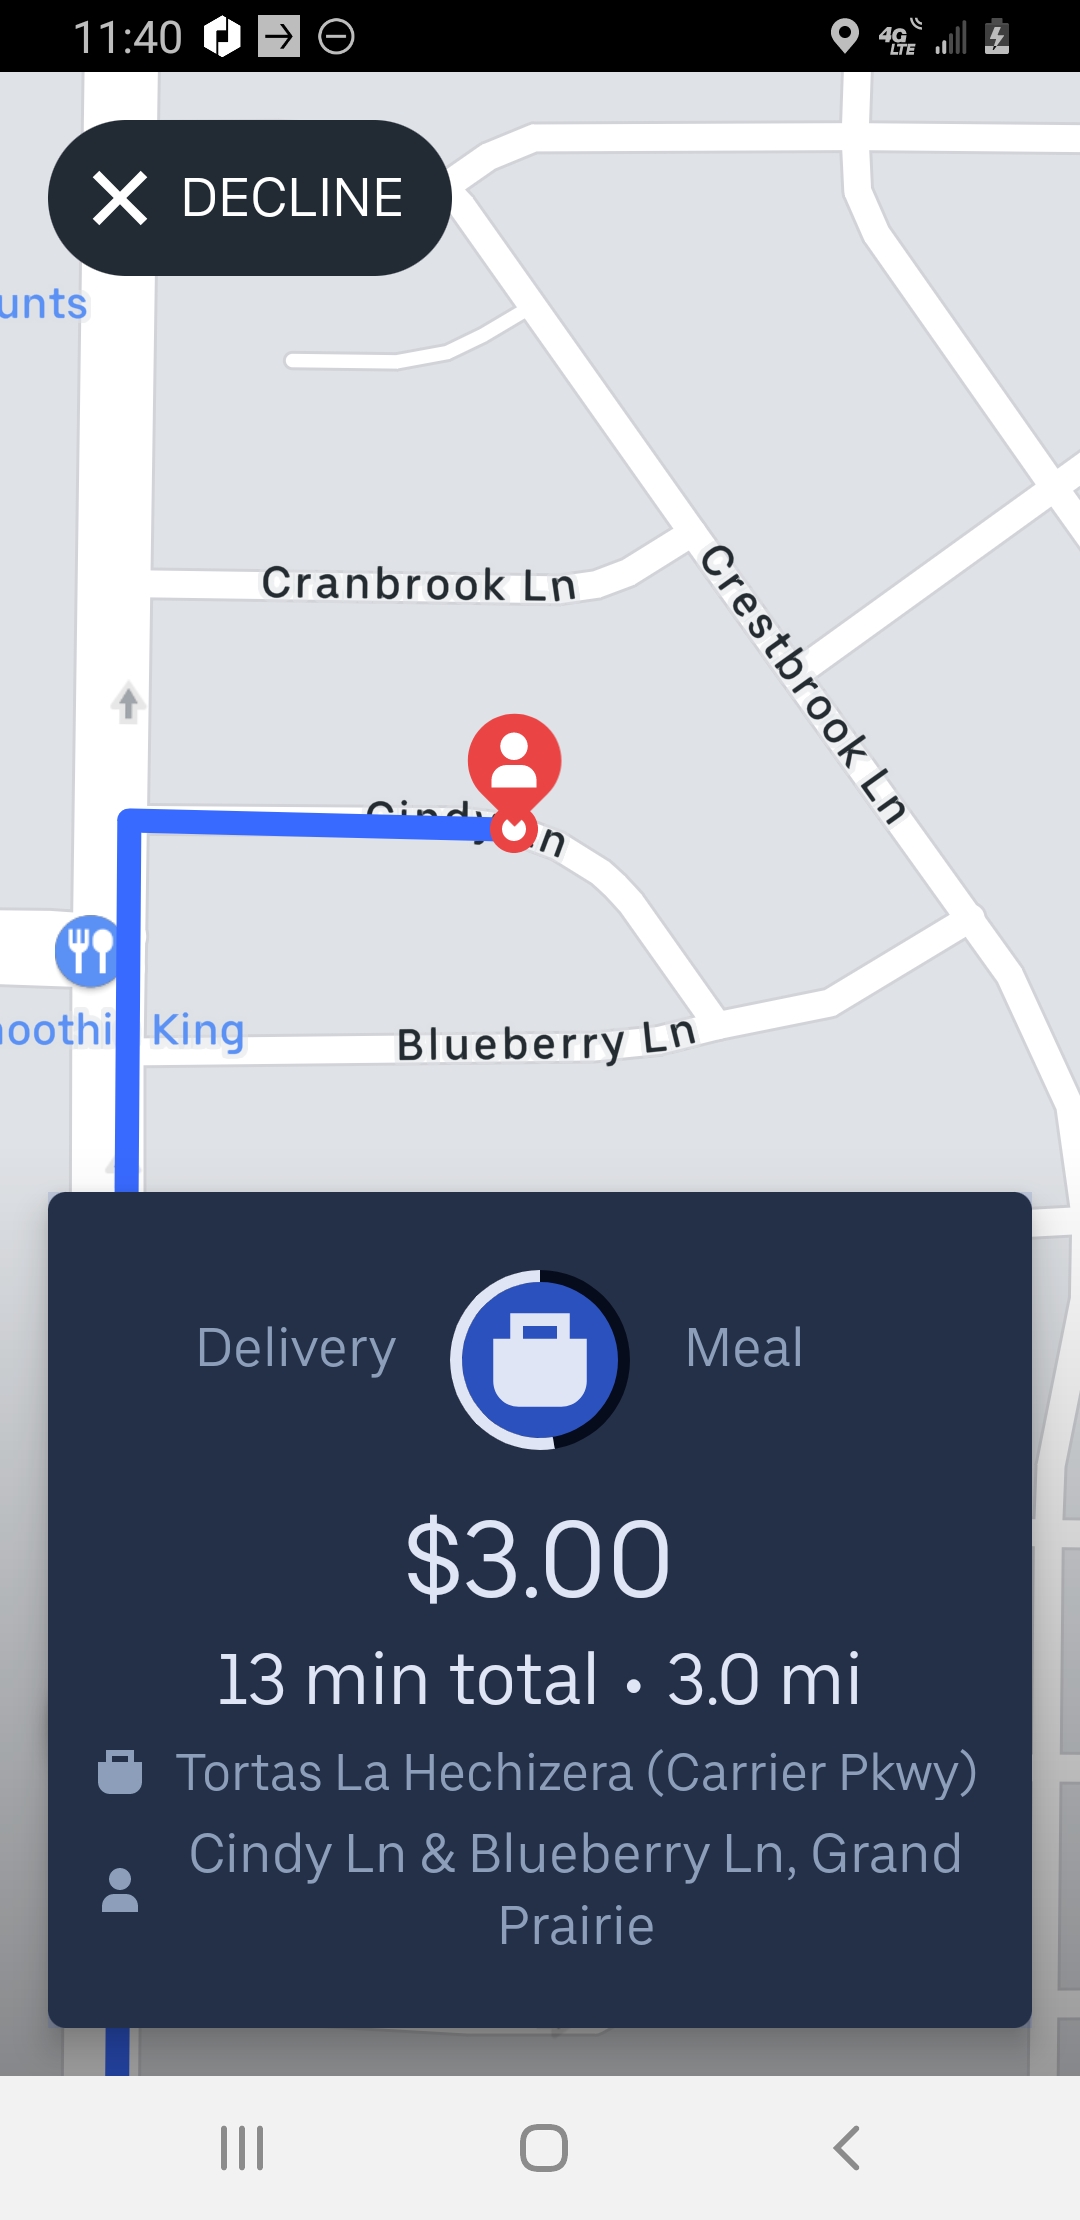
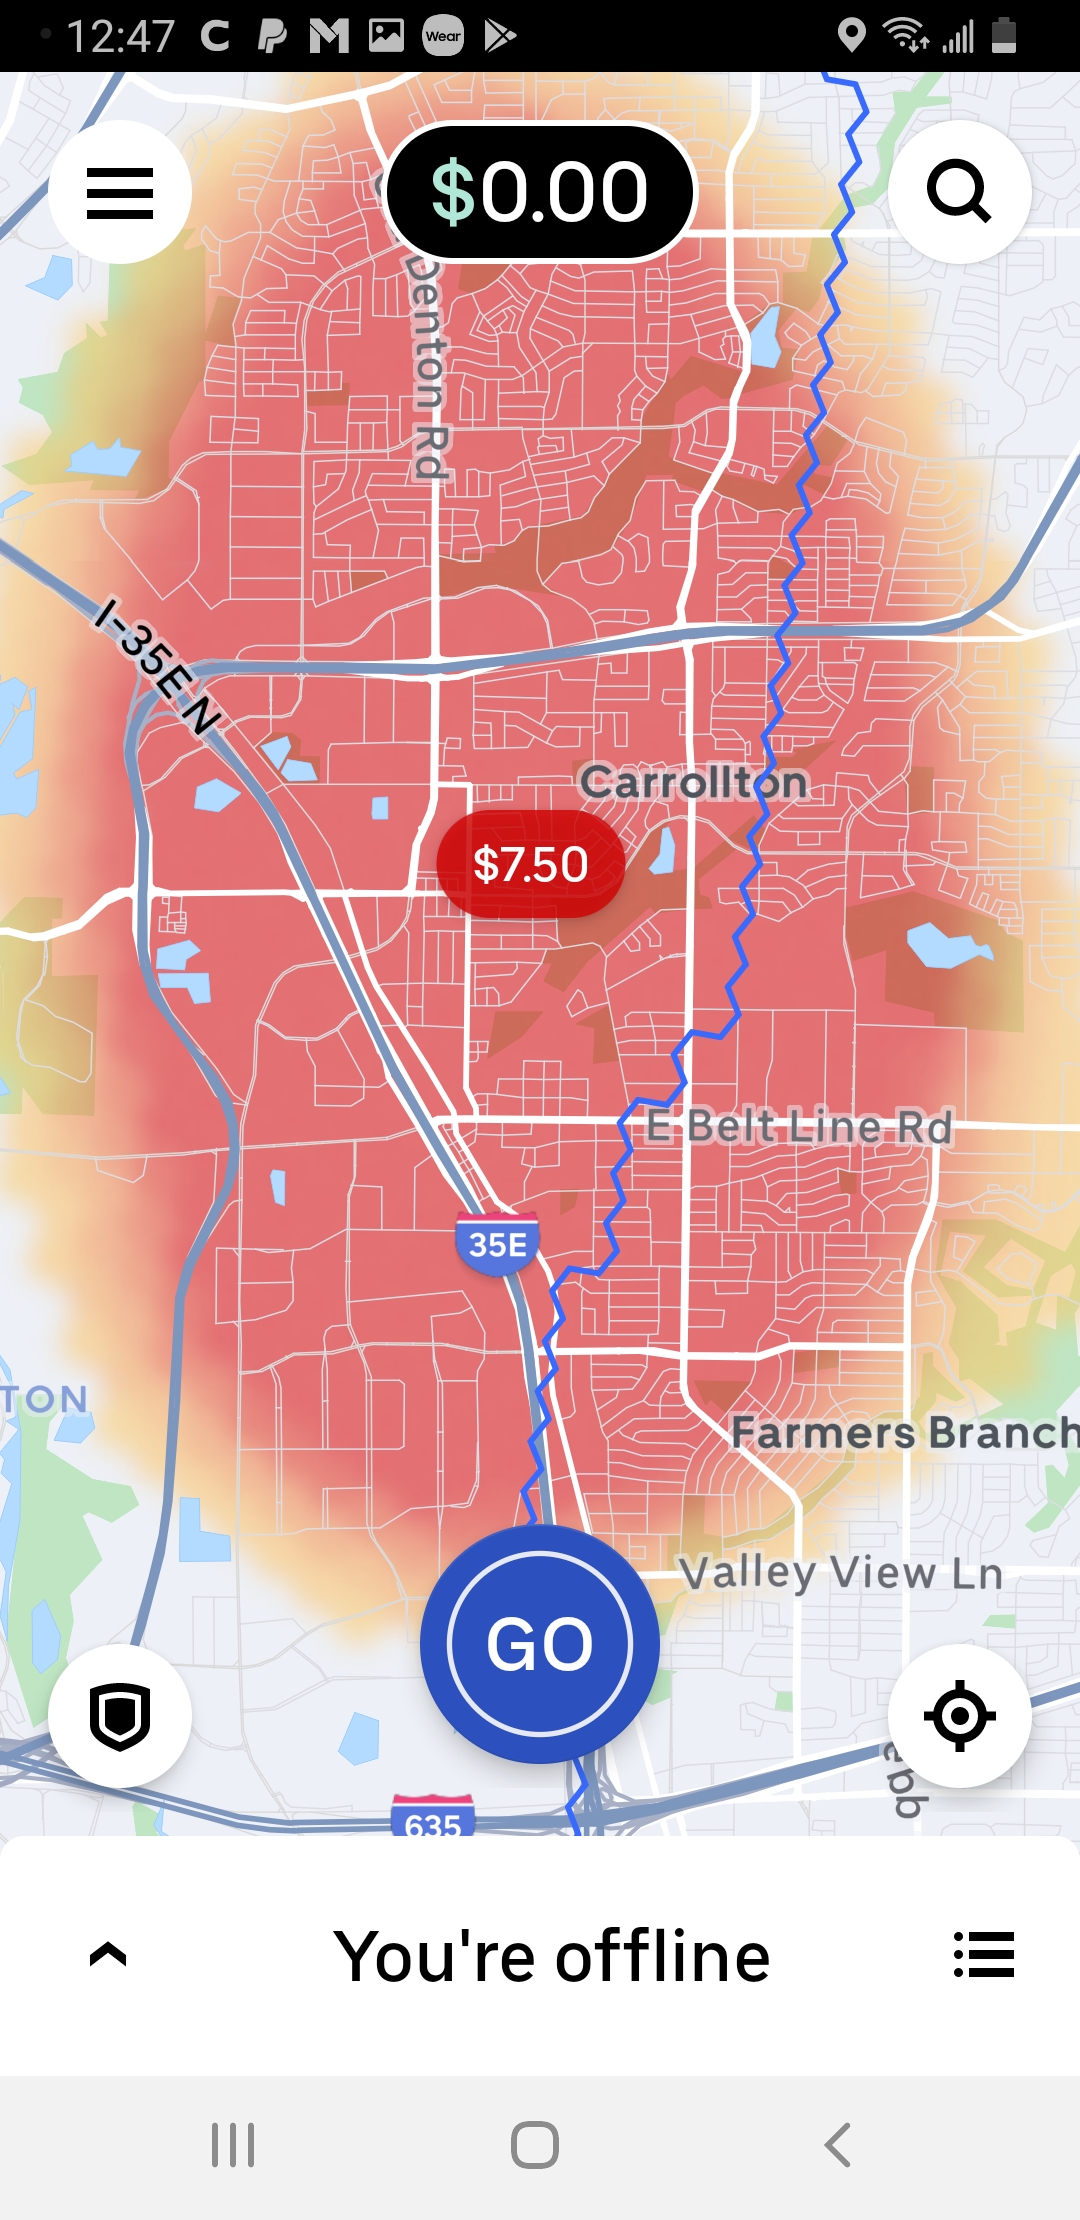
If the restaurant is in a surge zone, then you will get a bonus on top of what Uber normally pays you. The amount of the surge will be shown on the map and on the accept screen when you get a new request.
Accepting the request
After accepting the request, the uber navigation will come up and guide you to the restaurant that you’ll be heading to. The name of the restaurant can be seen at the bottom on the screen. The “navigate” button will pull up your phone’s default GPS app. You can use Uber’s built in navigation but I recommend using the waze app or google maps for best results. If there are any parking tips or instructions from the restaurant, scroll down on your phone and they will come up.


Order Pickup
Scroll down and the screen shows you the name and order number of the customer. Enter the restaurant with your insulated bag and let the staff know you’re with uber eats and you re picking up an order(s). If you don’t yet have a insulated bag, you can get one here. Give them the name and order number. If the order isn’t ready yet, click on the 3 dots next to the customer’s name and hit the “Not ready”button. Once they give you the order(s), click the check mark.
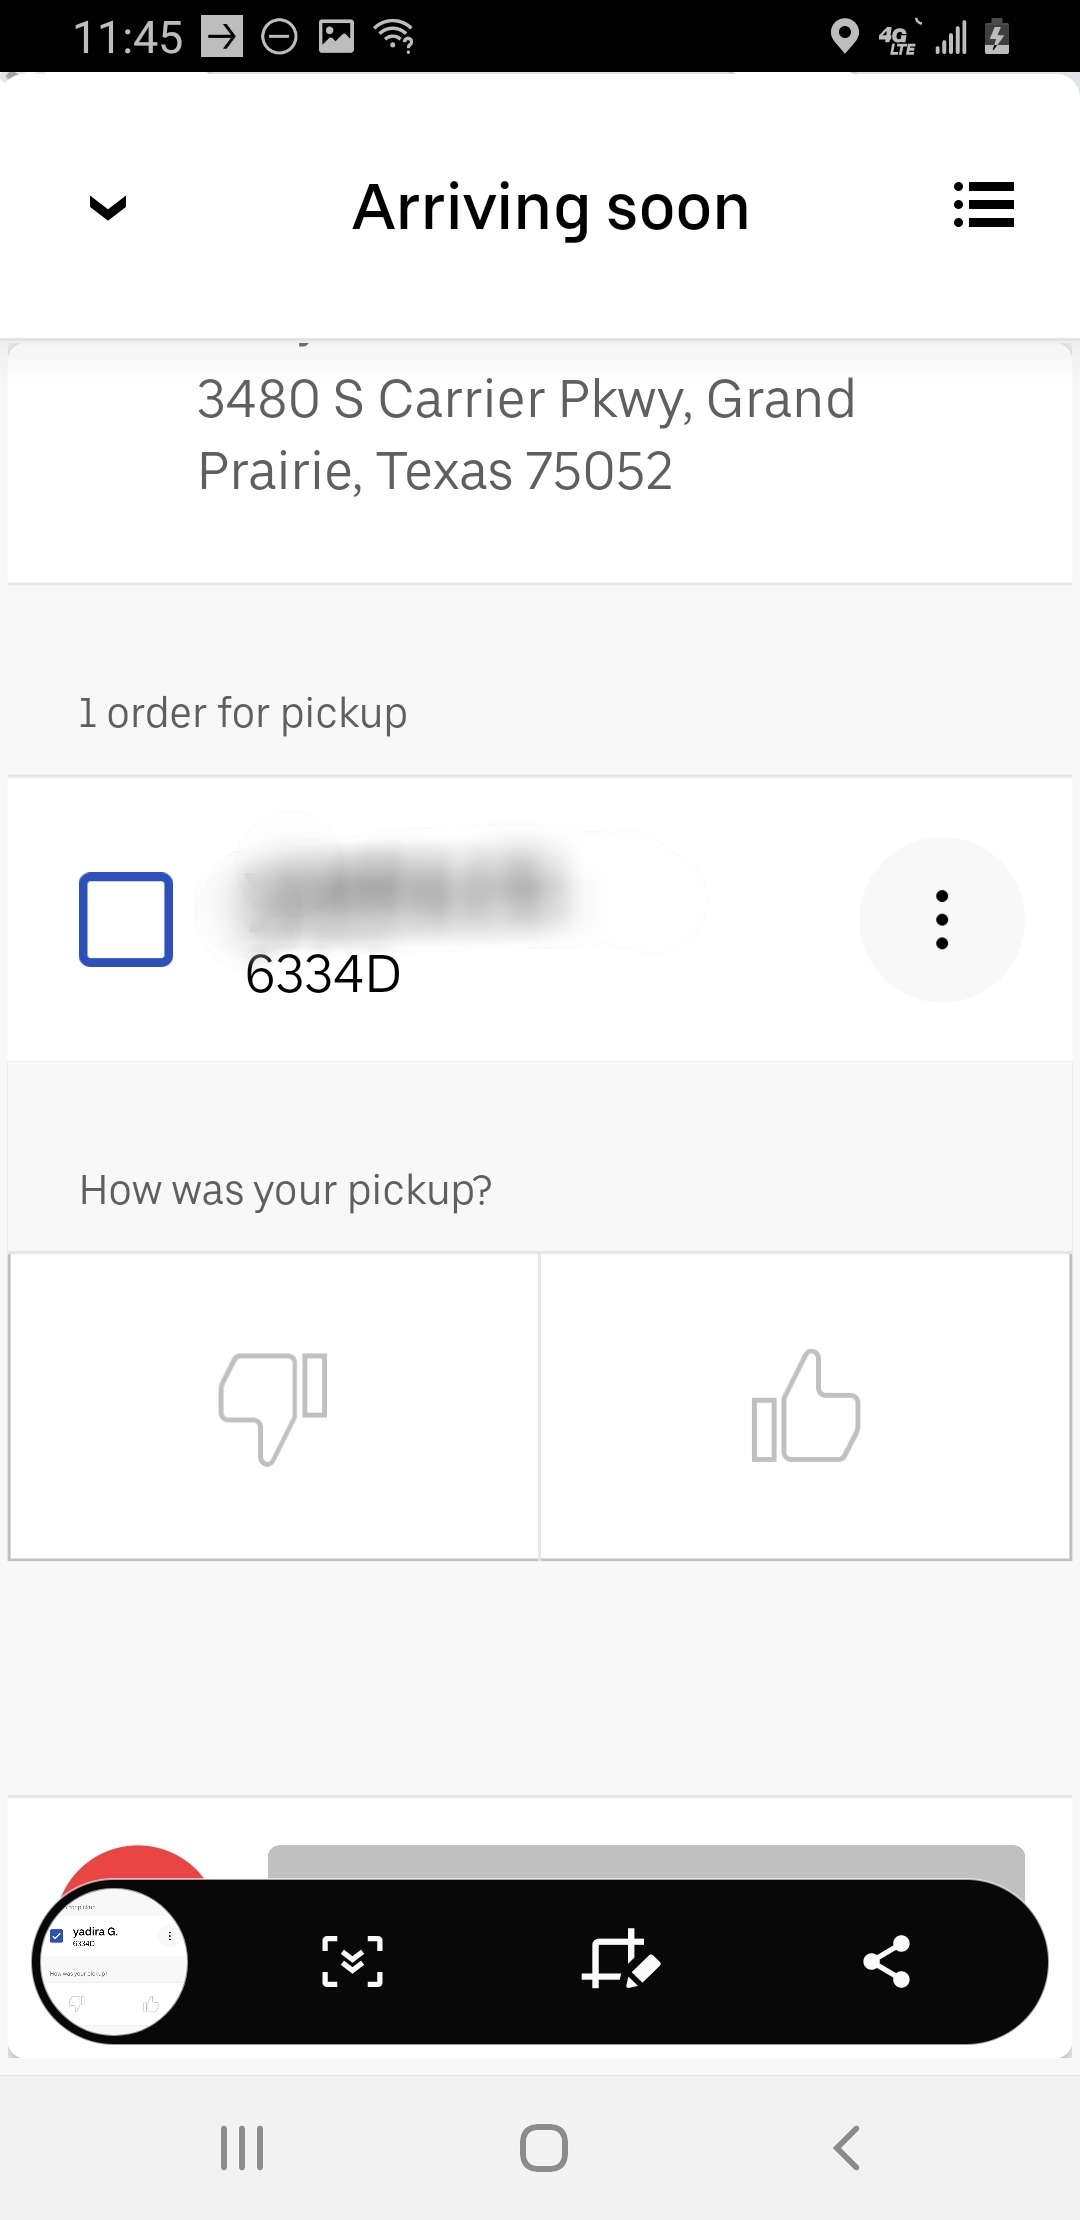
Rate your pickup based on the factors below. If you considered your pickup to be smooth, give them a thumbs up. If not, give them a thumbs down and select a reason(s). Once that is done, it’s time to head back to the car, bike or transportation of your choice. After this, check the box next the the customer’s name.


Order Dropoff
Place the food in a secure position to ensure that there isn’t any kind of spill. Slide the “Start delivery” at the bottom of the screen.
The app will load the customer’s location for you to head towards. If there are any special instructions, click the cart button and they will appear.

When you get to the address, take a look at the red location icon or scroll down. It will let you know if the customer wants you to deliver it to their door or if they want to come out and get it. If they want to come out, it will say (Stay in car). If they want to you to bring it to them, it will say “deliver to door”. It’s up to you if you want to arrange to meet them outside or to deliver to the door. Sometimes people in apartment complexes and buildings don’t mind meeting you somewhere because they want their food faster. If the customer is in a house, don’t call and expect them to come out.

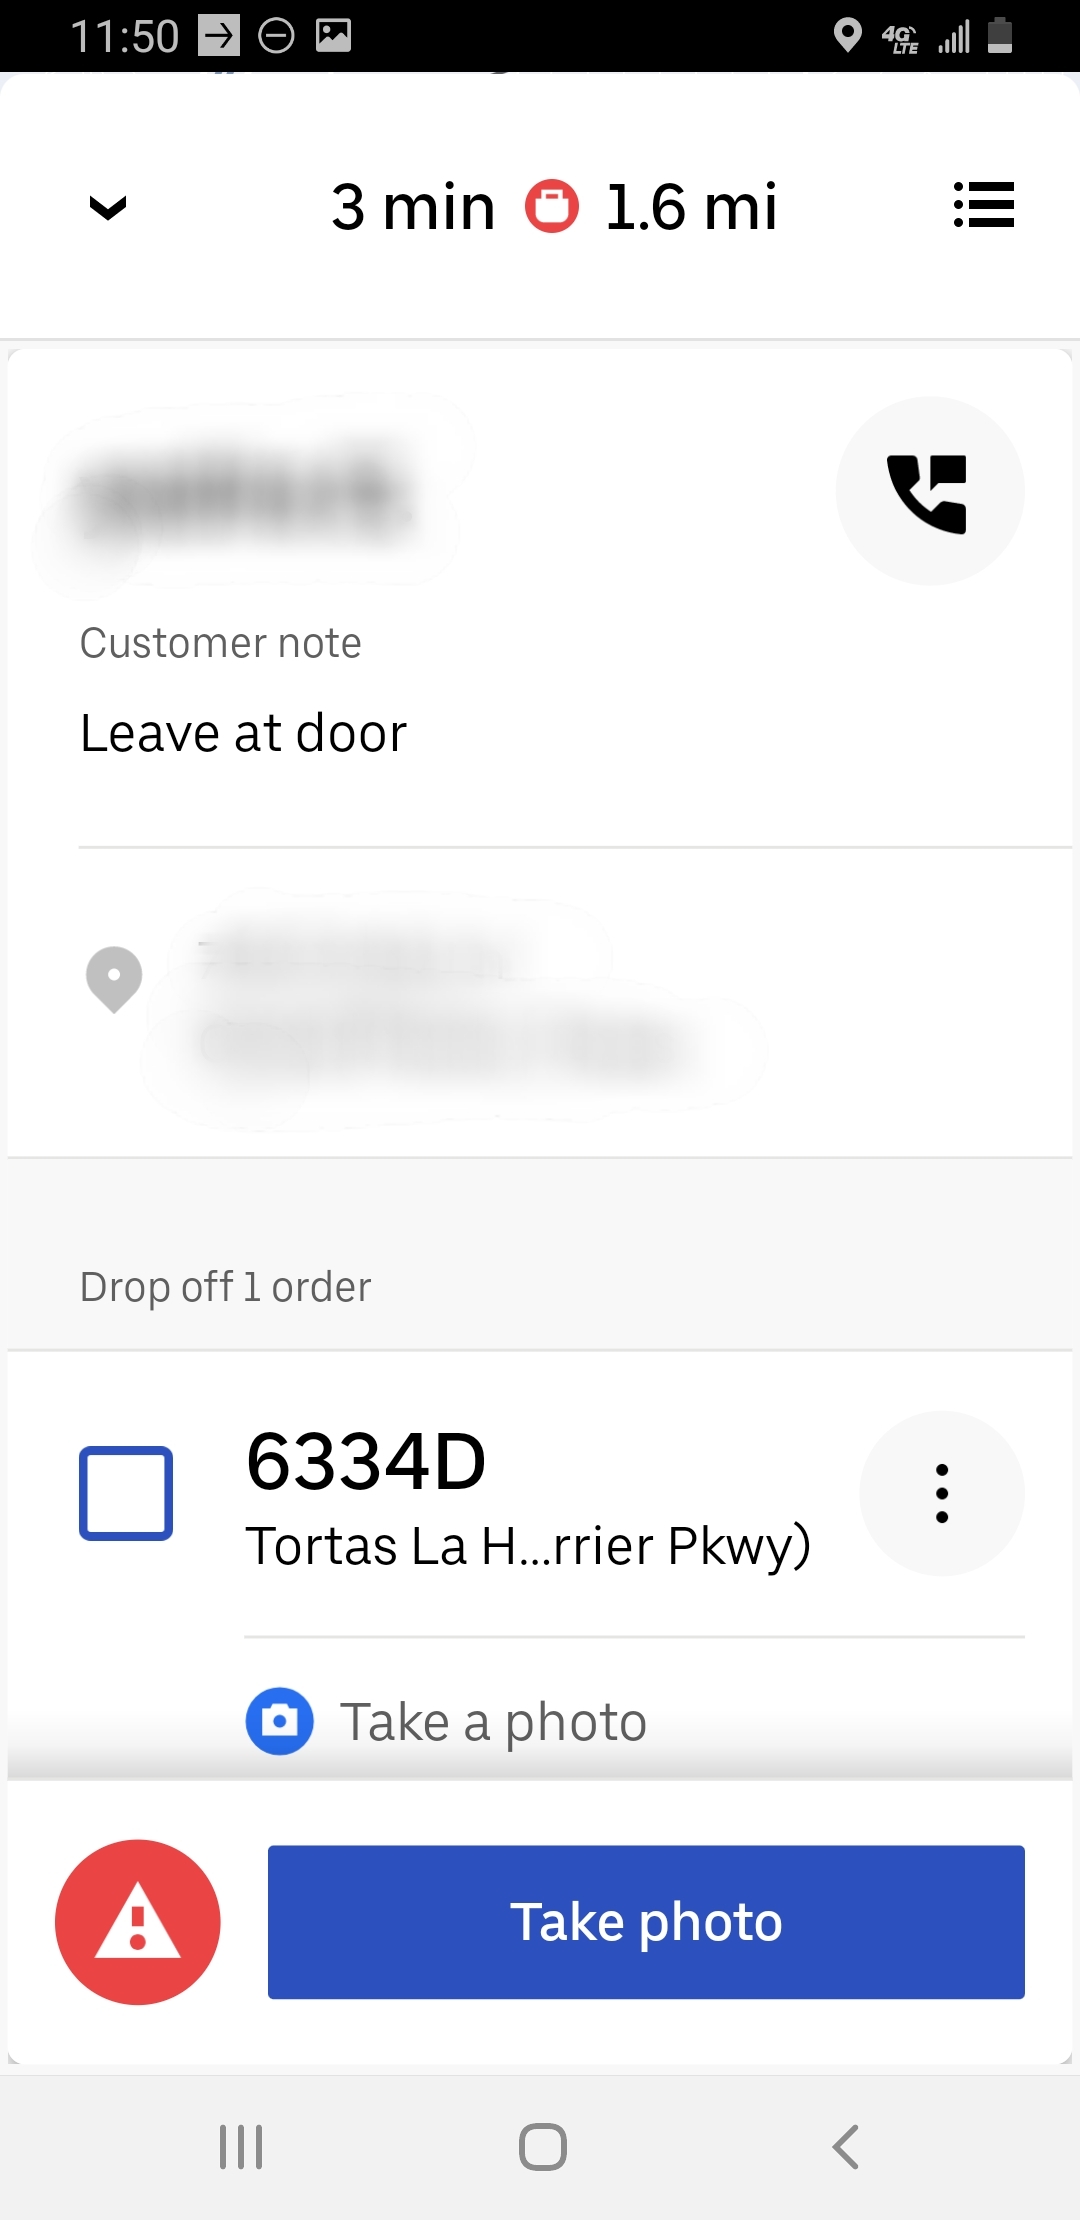
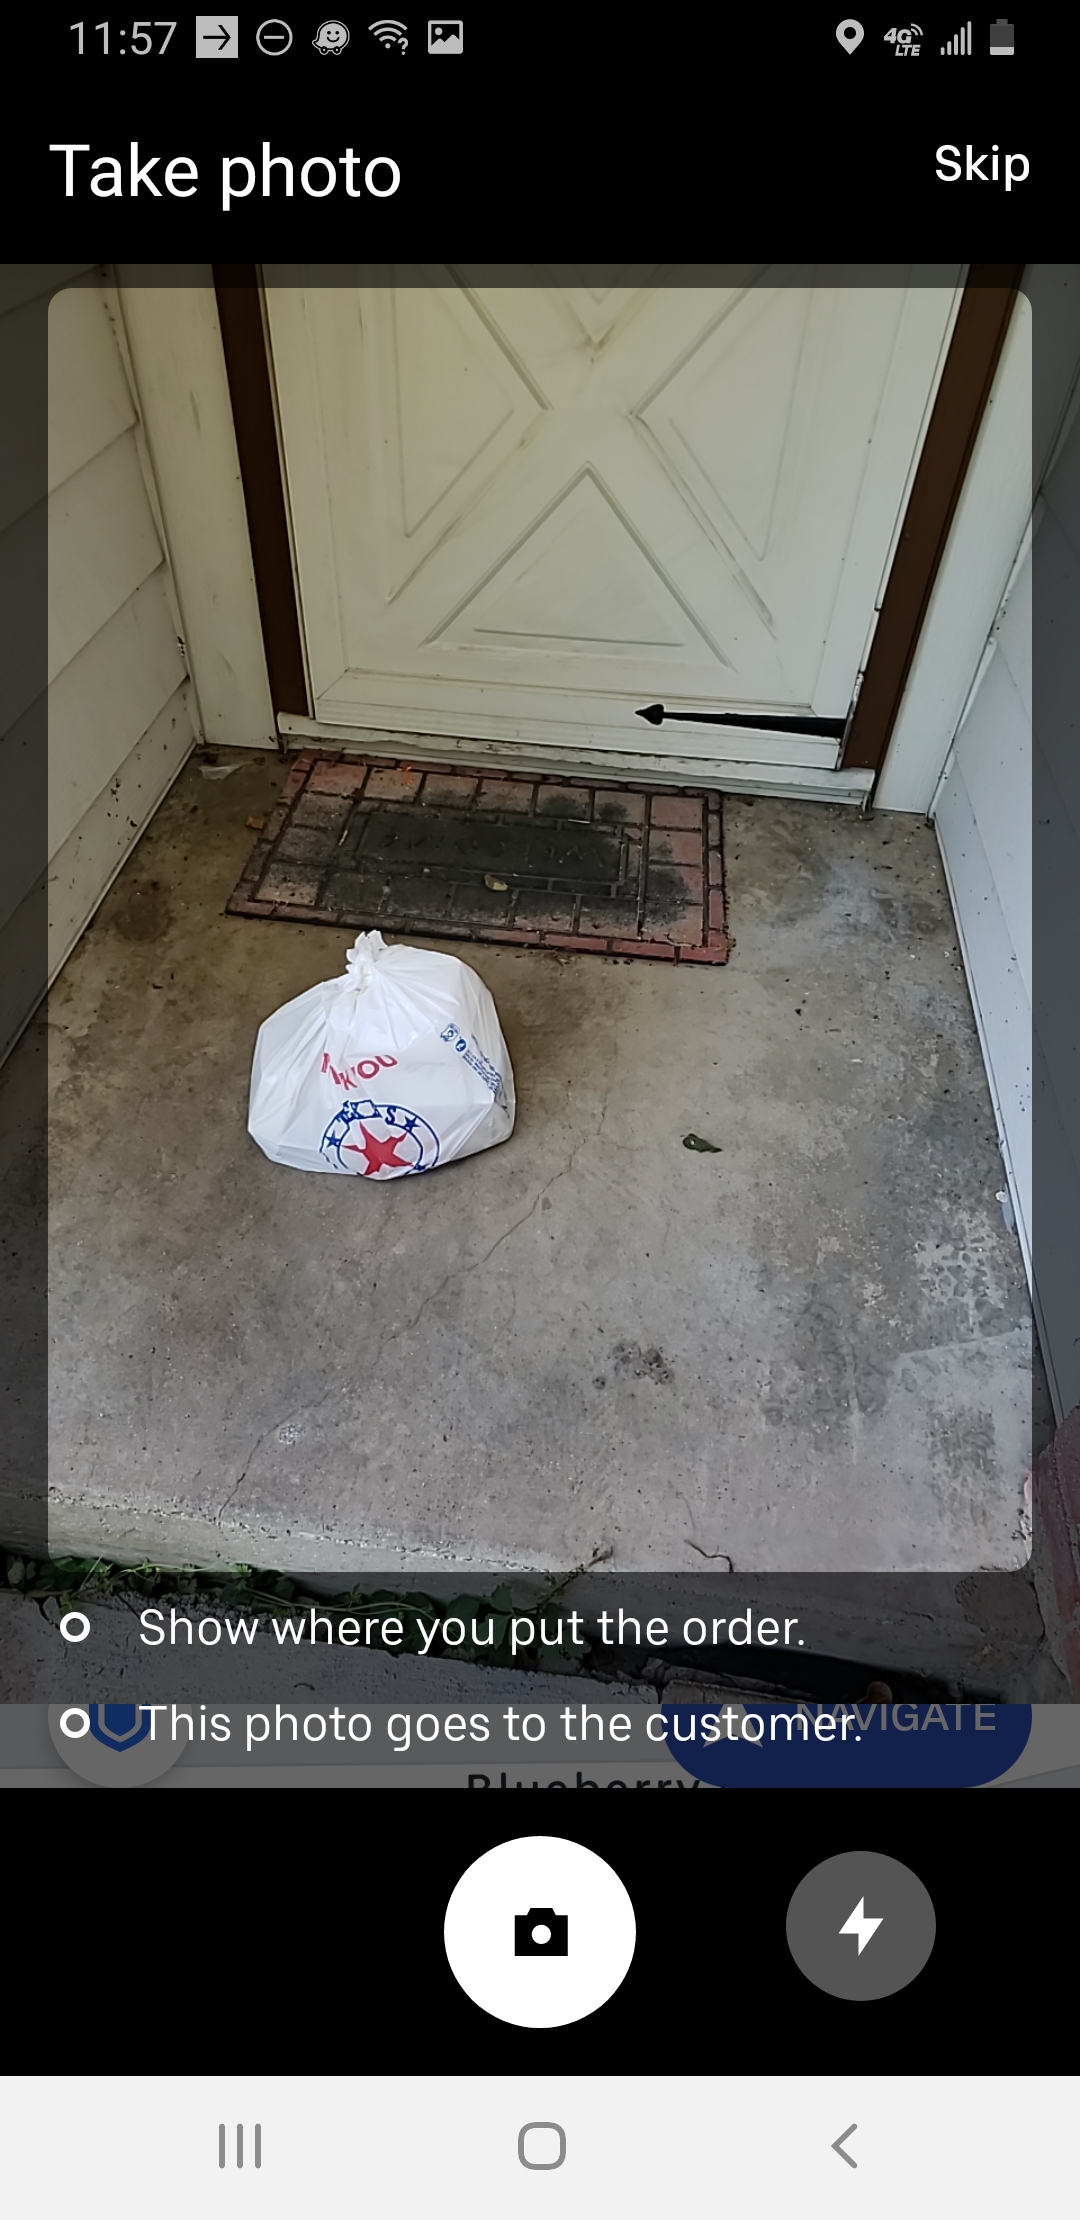
If the customer has the “Leave at the door” option selected, you’ll need to leave the order at their door. Once the order has been left at their door, Uber will want you to take a picture of it as proof.
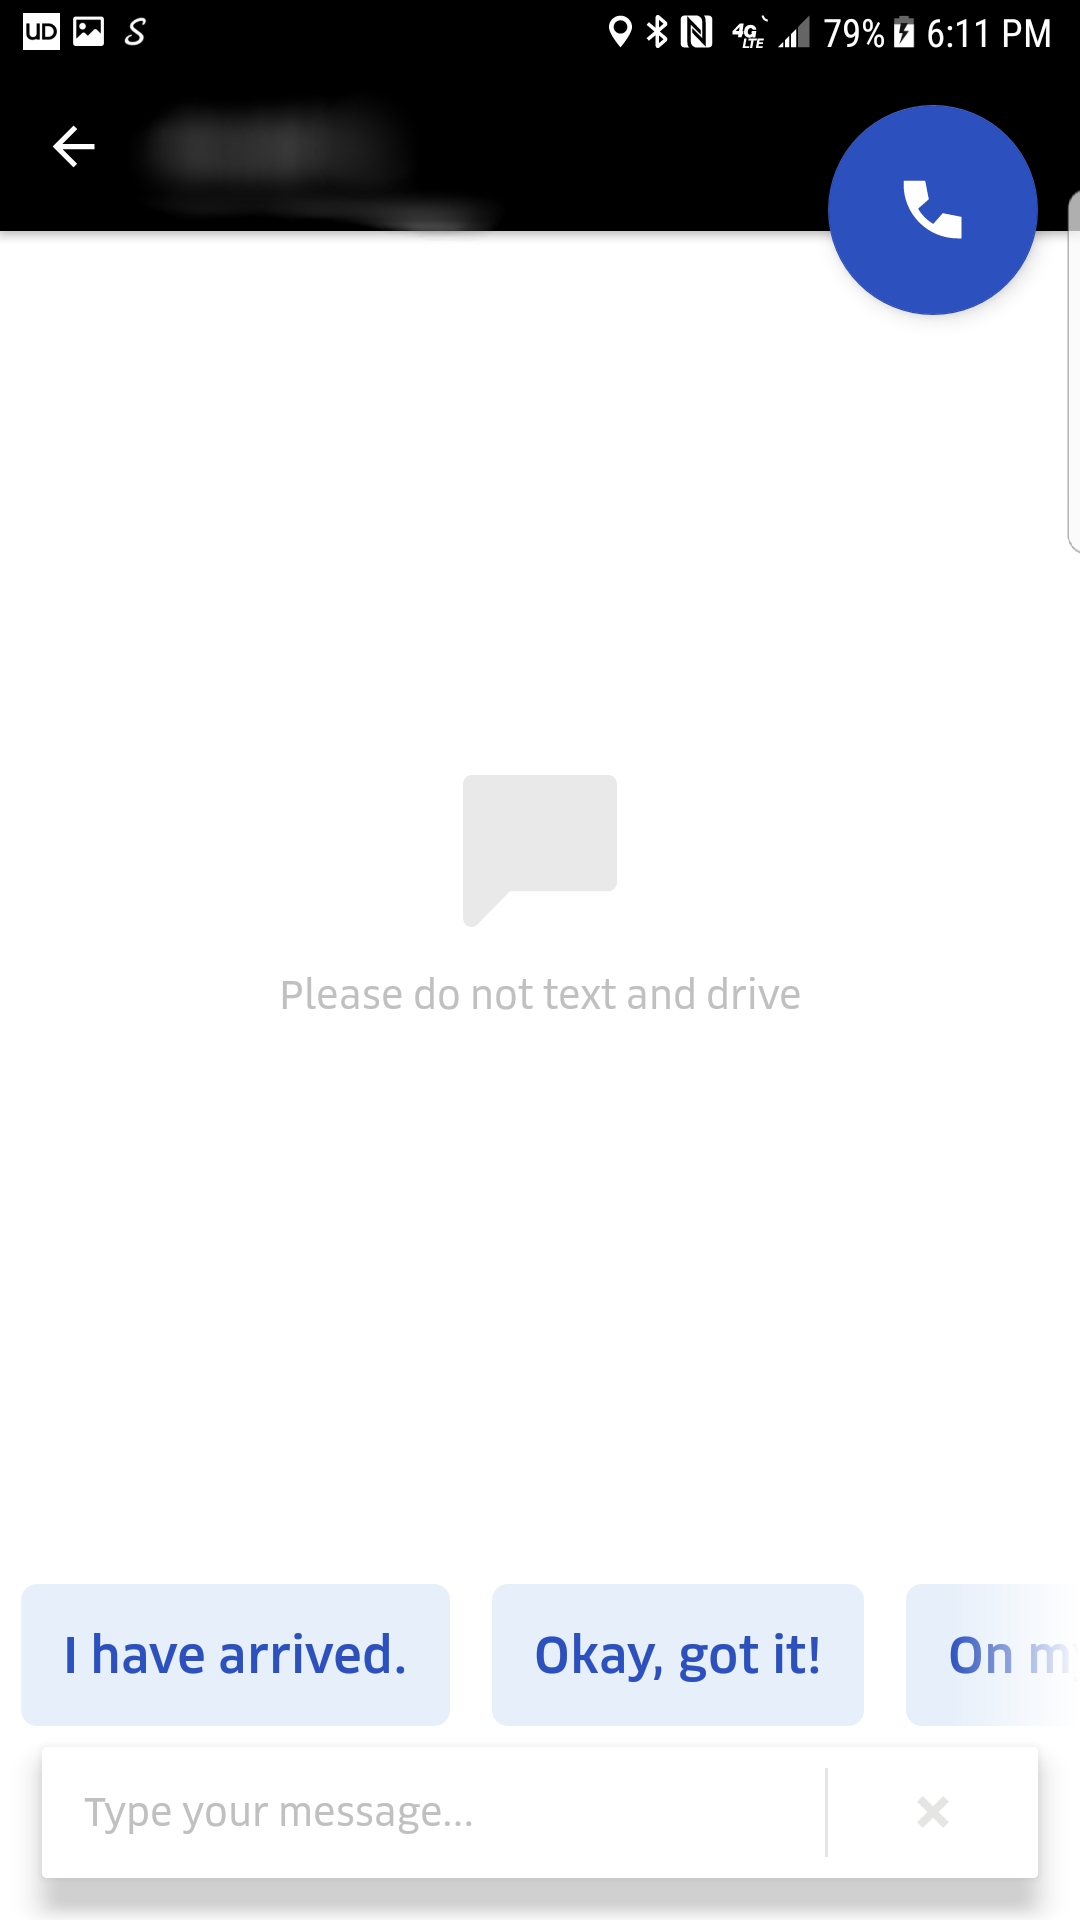
If for some reason, you can’t complete the delivery because you don’t have enough information to reach the customer, you can message or call them by pressing the top right phone icon in the screenshot above. If you call them and there is no answer, you can start the 8 minute countdown by pressing the “Can’t reach the customer” button. Once this countdown is complete, you can cancel the order and you will still be paid for it.


Once you’ve dropped off the food, give them a thumbs up if everything went good or a thumbs down if you bumped into unnecessary problems.

Swipe the “delivered” at the bottom and congratulations! You’ve completed your 1st Ubereats trip.
If the customer tipped you, it won’t appear until an hour after you’ve completed your delivery. This time around, you can even thank them for tipping you in the app which i recommend doing because it increases the chance of them tipping more in the future.
After a few trips, this whole process becomes 2nd nature. For more information about Ubereats or getting started, checkout The App Lifestyle you tube channel here
